Reading a Weaving Draft: A Beginner’s Guide to Threading and Treadling Diagrams
October 29, 2026 - Weaving
A warp goes on the loom once. After that, every questionable decision travels with it — through the hems, the pattern repeats, and the last metre you cut off the back beam. Which is why the most useful hour of many weaving projects happens before the first thread is measured: at the table, with a notebook, a ruler, and the yarn in your hands. What follows is the sequence I run through before winding a warp. Not laws, exactly. More a set of questions worth answering while changing your mind is still cheap.
Unwind a metre or two and look at it in daylight. You want to know four things: fibre content, how the yarn is plied, how thick it is, and how much of it you actually have. Grist — metres per gram, or yards per pound — is the number that decides whether your sett is sensible or wishful.
Then test for weakness. Hold a short length between both hands and pull sharply. A good warp yarn resists without much stretch and doesn't thin out at the breaking point. Fuzzier singles that shed fibres when you run them between your fingers are fine in the weft and miserable in the warp, where every heddle eye and reed dent will abrade them for hours.
Count as well. Count warp ends, multiply by warp length, then add everything else: shrinkage, take-up, loom waste, fringe or hem allowances. Most of us underestimate by a comfortable margin, so add a little back. A good working figure for loom waste is 45 cm on a modest table loom and closer to a metre on a countermarch with a long back beam. If the yarn is from a single dye lot, buy the extra now, not in three weeks.
The warp carries tension, so it wants more twist and more strength. The weft can be softer, thicker, slubbier — it only has to bend around the selvages. That difference is fine, but it changes the cloth, so decide what you're doing with it.
Same yarn in both directions, in a balanced plain weave, is the most predictable starting point. A much thicker weft in a fine warp gives weft-faced cloth that covers slowly and needs a lighter beat. A cotton warp with a woollen-spun weft can be beautiful, but the two fibres shrink at different rates in the wash, which is exactly how collapse fabrics are made and exactly how disappointing blankets are made when nobody intended it.
Two more practical checks: does the weft fit through the shed without dragging on the warp? And do both yarns tolerate the same washing and ironing you plan to give the finished piece?
Sett is the number you'll live with. Wrap the warp yarn around a ruler for 2.5 cm and divide by two — that wraps-per-inch figure is a starting point for balanced plain weave, so 24 wraps per inch suggests roughly 12 ends per inch. Twill and lace structures want more ends; weft-faced work wants fewer. Metric weavers: 10 wraps per centimetre would suggest about 5 ends per centimetre.
Then translate ends per inch into a reed. A 12-dent reed sleyed in a repeating 1-1-1-2 pattern gives 15 ends per inch (five ends across four dents, times twelve). Sleying 1-1-2 across a 10-dent reed gives 13.3. Write the pattern down — you will not remember it in six months, and you will want to.
Sampling sounds like a delay and behaves like insurance. It doesn't need to be a separate warp. Wind an extra 40 cm onto the back beam, weave it first, cut it off, finish it — wash, press, dry — and then re-tie and carry on with the real thing. You lose an afternoon and gain the answer to every question above.
On the sample card, record the sett, the weft, picks per inch, the wet-finished dimensions, and how the cloth behaves after washing. Note anything that surprised you. Ten lines on an index card will outlast your memory of the project by years.
Small gear causes long delays. A boat shuttle carrying a small bobbin across a wide warp means constant stops; a stick shuttle that holds plenty is slow to pass through a tight shed. If your weft is very fine or very slippery, an end-feed shuttle delivers it at even tension and saves you a great deal of fussing.
Estimate bobbins before you start: total weft yardage divided by what one pirn holds, plus two spares. Wind them evenly and firmly, but not so hard that the yarn loses its elasticity. If the pattern uses two colours, set up two shuttles and keep them on opposite sides of the loom so you never have to think about which is which.
Check the shed, too. With the harnesses raised, is there clean daylight between the warp threads, or is the weft going to pick its way through? Fixing a sticky shed now takes minutes.
Finishing begins at the warping board, because that is where the allowances get made. Plan for warp take-up and weft take-up — around a tenth in each direction for ordinary plain weave, more for textured structures — and add your hem or fringe allowance on top.
Fringe needs roughly twice its finished length, plus a little for trimming and for the twist that eats length as it tightens. Hems need 2 to 4 cm turned twice, or a hand-sewn allowance if you prefer to finish by needle. Towels need hems at both ends, which is easy to forget when the warp is only just long enough.
Lay out the finishing kit while the loom is still dressed: fringe twister or a hand drill, rustproof pins, blocking board or towels, a mild pH-neutral soap, sewing thread that matches, a needle or machine, scissors, and labels. Nothing kills momentum like finishing three metres of cloth and discovering there is nothing in the house to hem it with.
Wet finishing is not a formality. A sample that has been washed and pressed tells you more about sett than any chart, and it costs you an hour rather than a whole warp.
Before you wind on, run a finger down this list. It takes five minutes and catches most of the mistakes that would otherwise be woven in.
Then tie on. The warp will still surprise you somewhere in the middle, but it will be the good kind of surprise — the one that shows up in the finished cloth rather than in the waste bin.
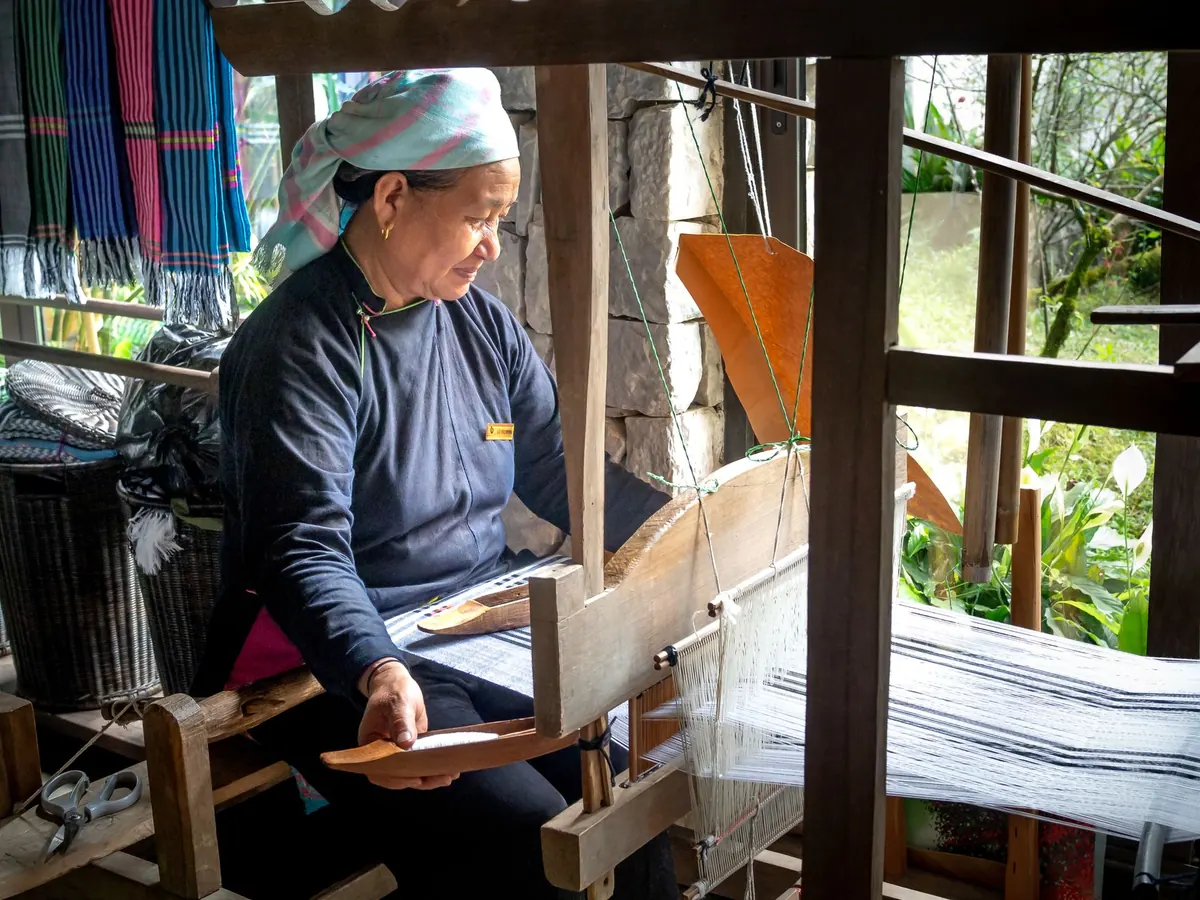
Photo: Quang Nguyen Vinh / Pexels
A weaving draft is four connected diagrams, not a code. Here is how threading, tie-up, treadling and drawdown...
A practical comparison of twisted fringe, hemming and wet-finishing for handwoven scarves, judged on time,...
Copyright © 2026 Telaio Sottovoce. All Right Reserved.