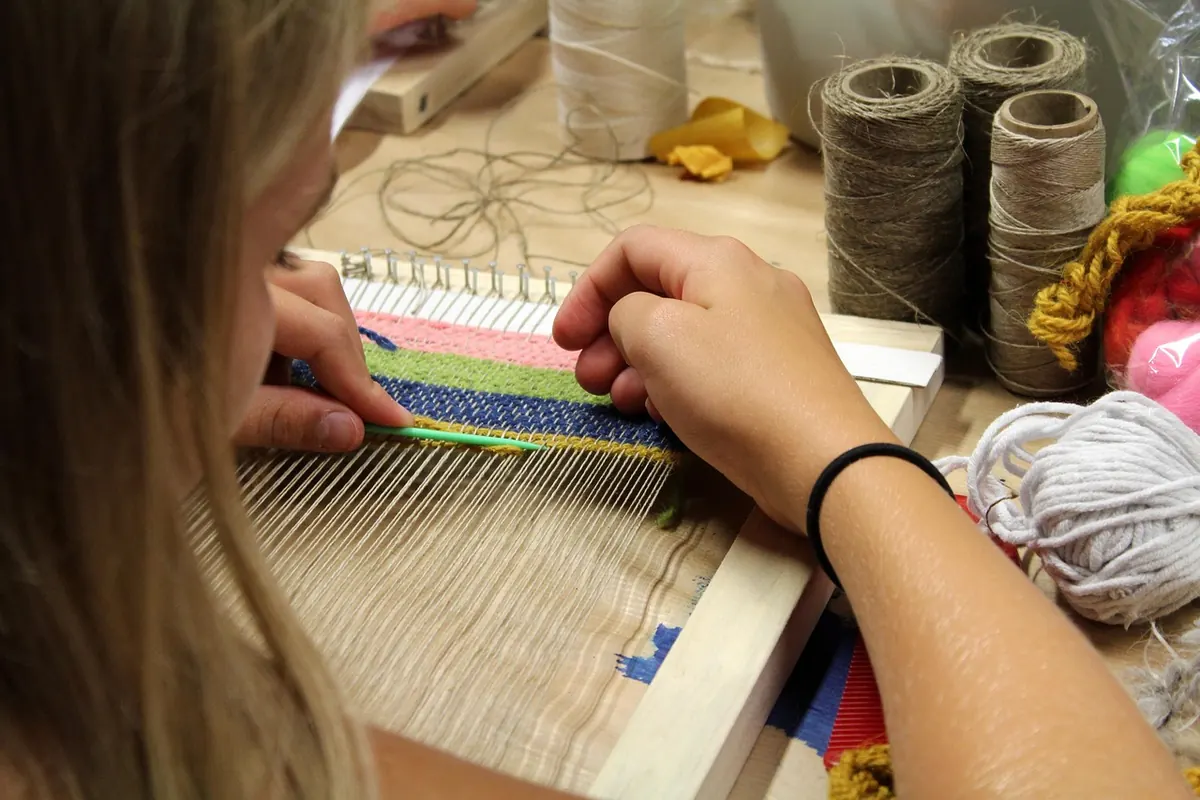
Reading a Weaving Draft: A Beginner’s Guide to Threading and Treadling Diagrams
October 29, 2026 - Weaving
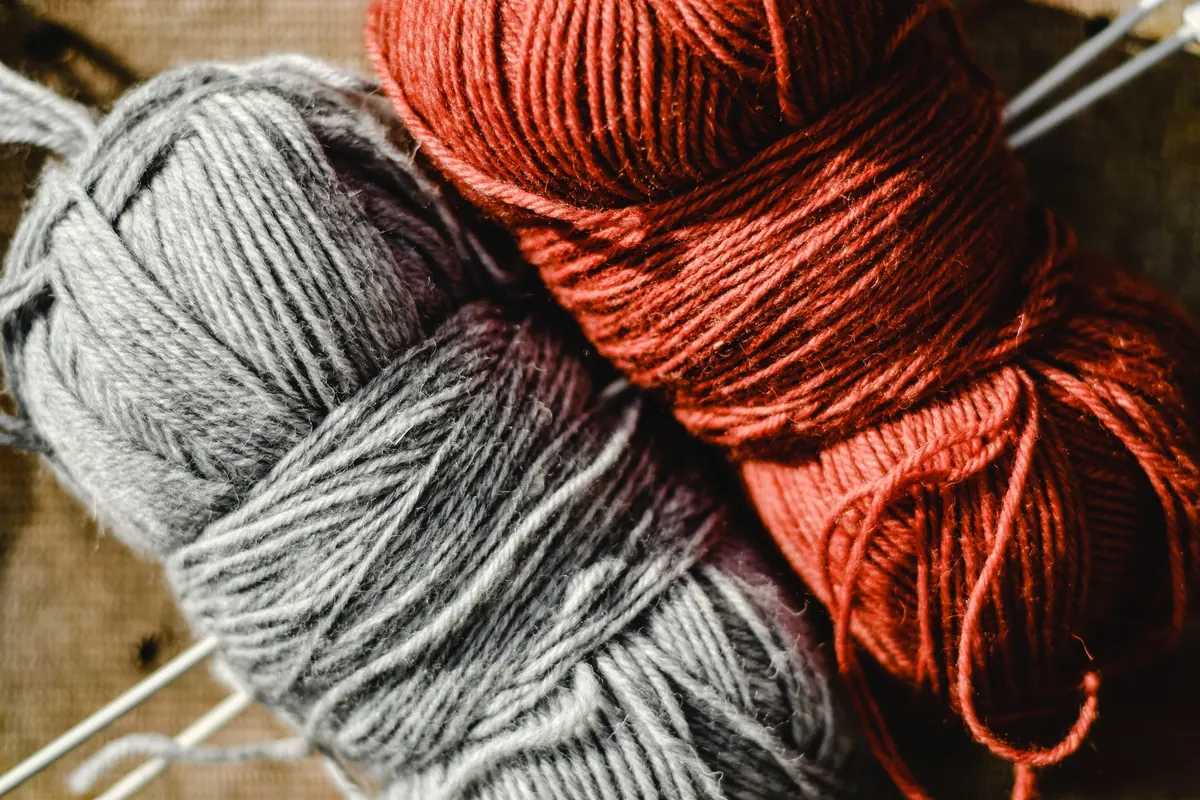
The light turns amber by four in the afternoon, and suddenly every skein on the shelf looks like it belongs to a different season. That is the moment to stop winding warps and start planning. Autumn is the most generous dye season of the year: onion skins by the bagful, walnut hulls underfoot, marigolds going over in the garden, madder root already dried from last year. It is also the season when a little forethought saves you from a palette that reads as a pile of unrelated leaves. The method below works backwards from the cloth — choosing the warm neutrals first, gathering only what is genuinely available, and letting the exhaust bath do the quiet work of tying everything together.
Most disappointing palettes are not dyeing failures. They are planning failures. Before a single onion skin goes into the pot, decide what the cloth has to do. A scarf sits under a face and can carry a strong colour near the edge; a runner on a wooden table wants deeper, dustier tones; a hanging seen from three metres away needs more value contrast than you would ever guess at the loom.
Then set proportions. A workable rule of thumb for a first seasonal palette is roughly seventy percent warm neutral ground, twenty percent mid-tone, and ten percent of the colour that has something to say. Squint at your yarns, or photograph them in black and white. Value is what the eye reads first, and a set of colours that collapses into one grey mass will collapse on the loom as well.
Finally, decide which element stays fixed. In most of the pieces worth weaving, one warp holds steady for the whole length and a small family of wefts does the travelling. That structure is what makes a handful of dyed skeins look intentional rather than collected.
Some plants hand over colour with almost no help; others need a mordant, a pH shift or a modifier before they behave. A shortlist that earns its place in a seasonal dye pot:
Gather modestly and gather twice. A plant picked out entirely in September leaves nothing to pick in October, and the second gathering is usually the better one because you know by then which colours you actually used.
For wool and other protein fibres, alum at roughly ten to fifteen percent of the fibre weight, with a little cream of tartar, is the standard starting point; premordanting gives more even results than throwing everything into one pot. Cellulose fibres such as linen and cotton need more help, usually a tannin step before the alum. Keep dye pots and tools entirely separate from kitchen equipment, work in a ventilated space, and wear gloves when handling metallic salts.
Wool resents boiling. Hold the bath around 80°C, stir gently and often, and let the pot cool overnight — the last hour of cooling often gives more depth than the first hour of heat. A pinch of soda ash brightens yellows; a splash of vinegar pushes reds. Iron, used sparingly in its own pot, saddens and darkens anything it touches; copper leans greens towards olive. Add modifiers to a small sample first, never to the whole bath.
The exhaust bath is not the disappointment at the end of the process. It is usually the colour that makes the rest of the palette believable.
That second and third run-off the same dyestuff — paler, greyer, softer — is where warm neutrals come from. Dye your strongest skeins first, then drop in the ones meant to sit between them.
The most reliable way to design a seasonal set is to keep the dye constant and change the ground. Wind small skeins of three warps: an ecru, an oatmeal grey, and something darker. Dye all three in the same pot, at the same time, and you will have three related colours instead of nine unrelated ones. Repeat with four or five baths and you have a palette.
Then look for the bridge colours — khaki, mushroom, dusty rose, sage-grey. They are rarely anyone's favourite skein on its own, and they are what stops a bright marigold yellow from looking stranded next to a walnut brown. Weave a sample throwdown before committing: eight wefts across five warp stripes, each square labelled. It takes an afternoon and prevents a season of regret.
Undyed yarn is not an absence of colour; it is a colour choice, and usually the most important one. Natural white wool, grey fleece, oatmeal, straw-coloured linen, a soft alpaca the colour of tinned caramel — these are the tones that give dyed skeins somewhere to sit. Place a strong colour against a warm neutral rather than against another strong colour and it will read as richer and more deliberate.
A grey warp is worth trying if your dyed wefts keep coming out louder than planned. Grey mutes what crosses it, softening a bright yellow into something closer to wheat. A plied yarn of one dyed and one undyed strand does the same job more subtly, and uses up the odds and ends at the bottom of the basket.
Keep the first project small enough to finish before the light goes. A scarf or a short table runner in plain weave or a simple twill is enough to test a whole autumn palette.
Label every skein before it dries: plant, part used, mordant, modifier, date, and the rough ratio of dyestuff to fibre weight. Tie the label to the skein, not to the basket. Photograph the dried skeins in daylight, because the winter studio will make you doubt your own memory. Store them in paper or a breathable box, away from direct sun, and keep the sample squares with the notes — a small square of woven cloth answers questions that three pages of description cannot.
Then set one afternoon aside this week for the gathering you can still do: a bag of onion skins, a walk for windfall walnuts, the marigolds before the first hard frost. Everything else can wait for the pot.
Photo: Eva Bronzini / Pexels
A weaving draft is four connected diagrams, not a code. Here is how threading, tie-up, treadling and drawdown...
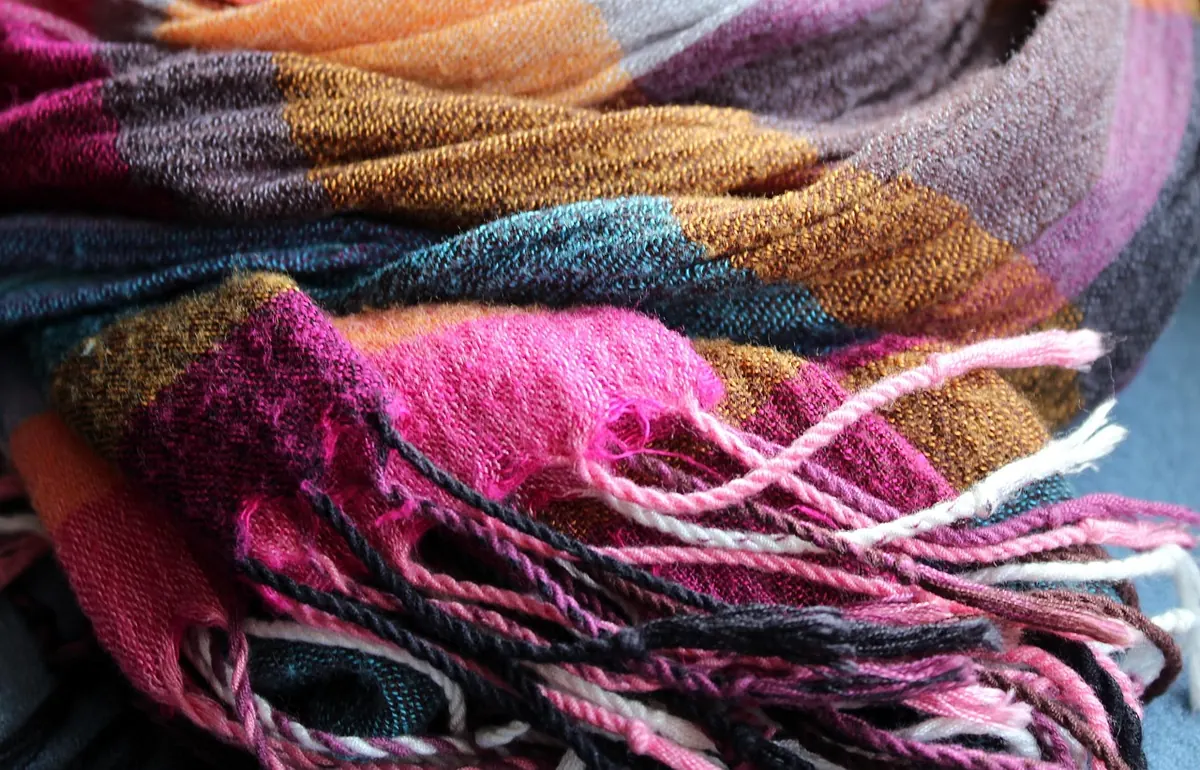
A practical comparison of twisted fringe, hemming and wet-finishing for handwoven scarves, judged on time,...
Copyright © 2026 Telaio Sottovoce. All Right Reserved.